> For the complete documentation index, see [llms.txt](https://docs.testfiesta.com/llms.txt). Markdown versions of documentation pages are available by appending `.md` to page URLs; this page is available as [Markdown](https://docs.testfiesta.com/getting-started/organizing-tests/manage-testing-process.md).
# Manage Testing Process
To effectively manage your testing process, follow these steps to create your tests.
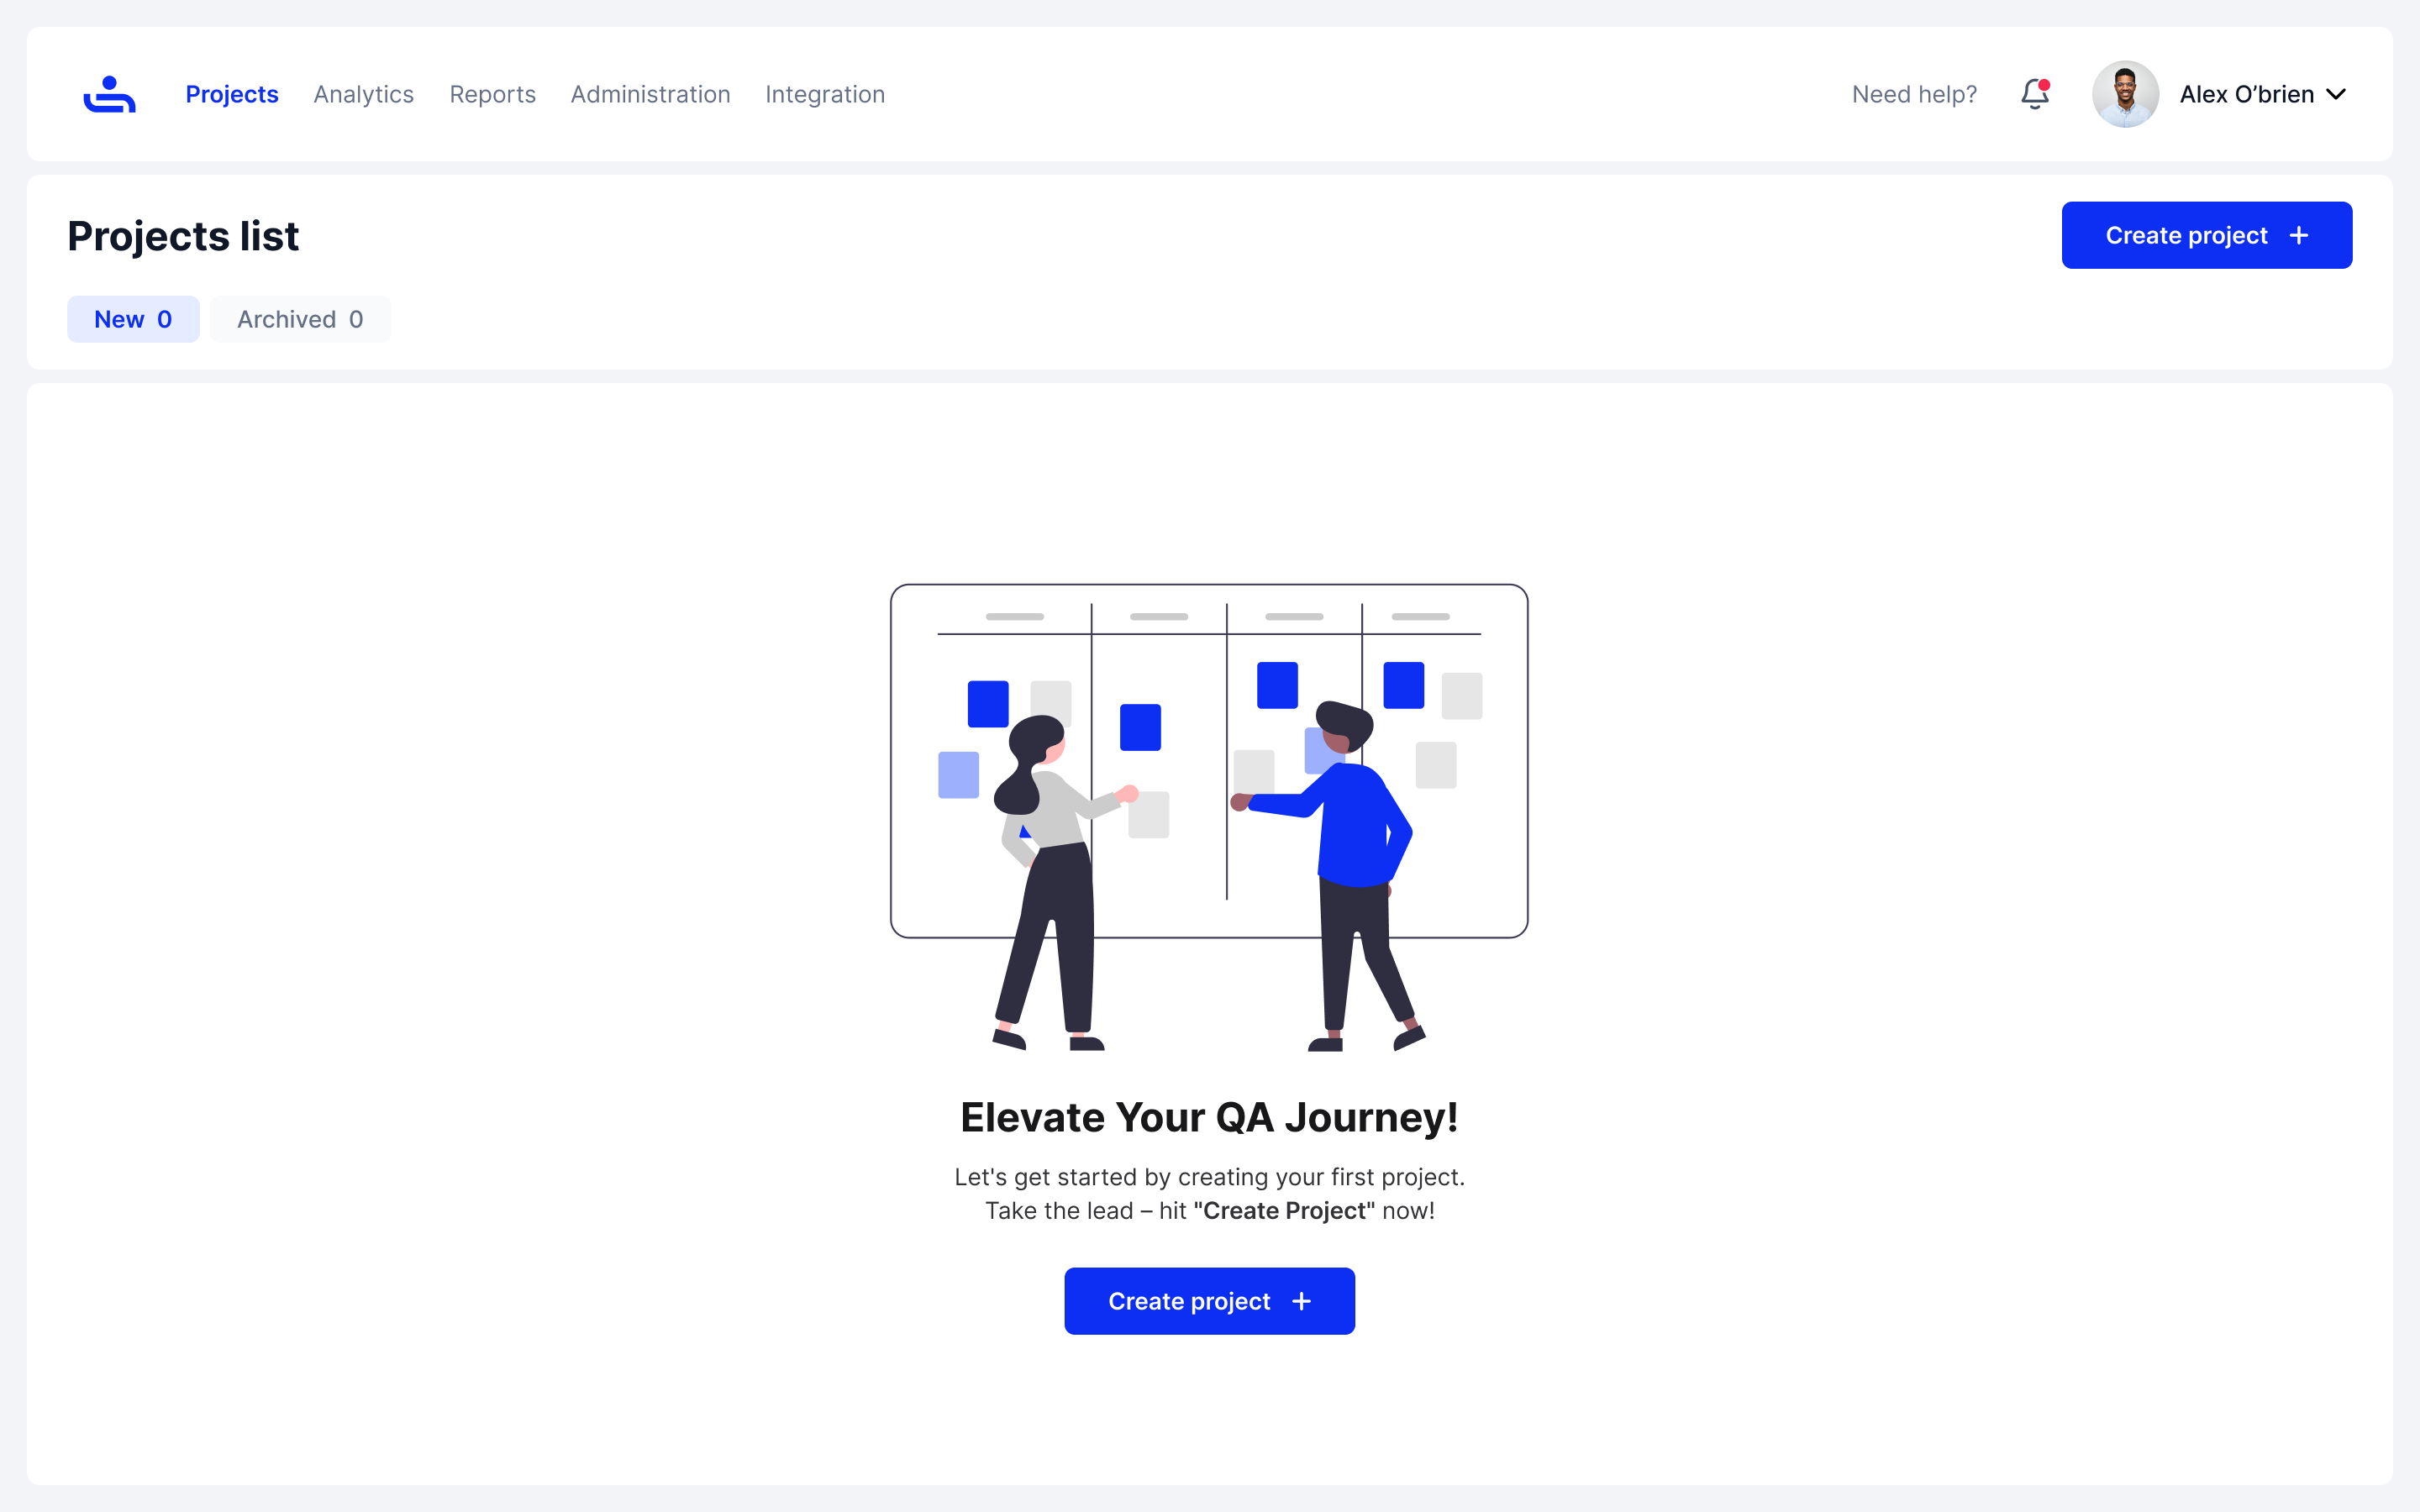
Step 1: Create a Project
Begin by setting up a new Project. A Project helps you organize and track different testing initiatives or phases. Simply navigate to the Projects section and choose the option to create a new project. Head to the [Creating New Projects](/projects-tab/projects-home-page/creating-new-projects.md) section to uncover more.
Start by creating your initial Project.
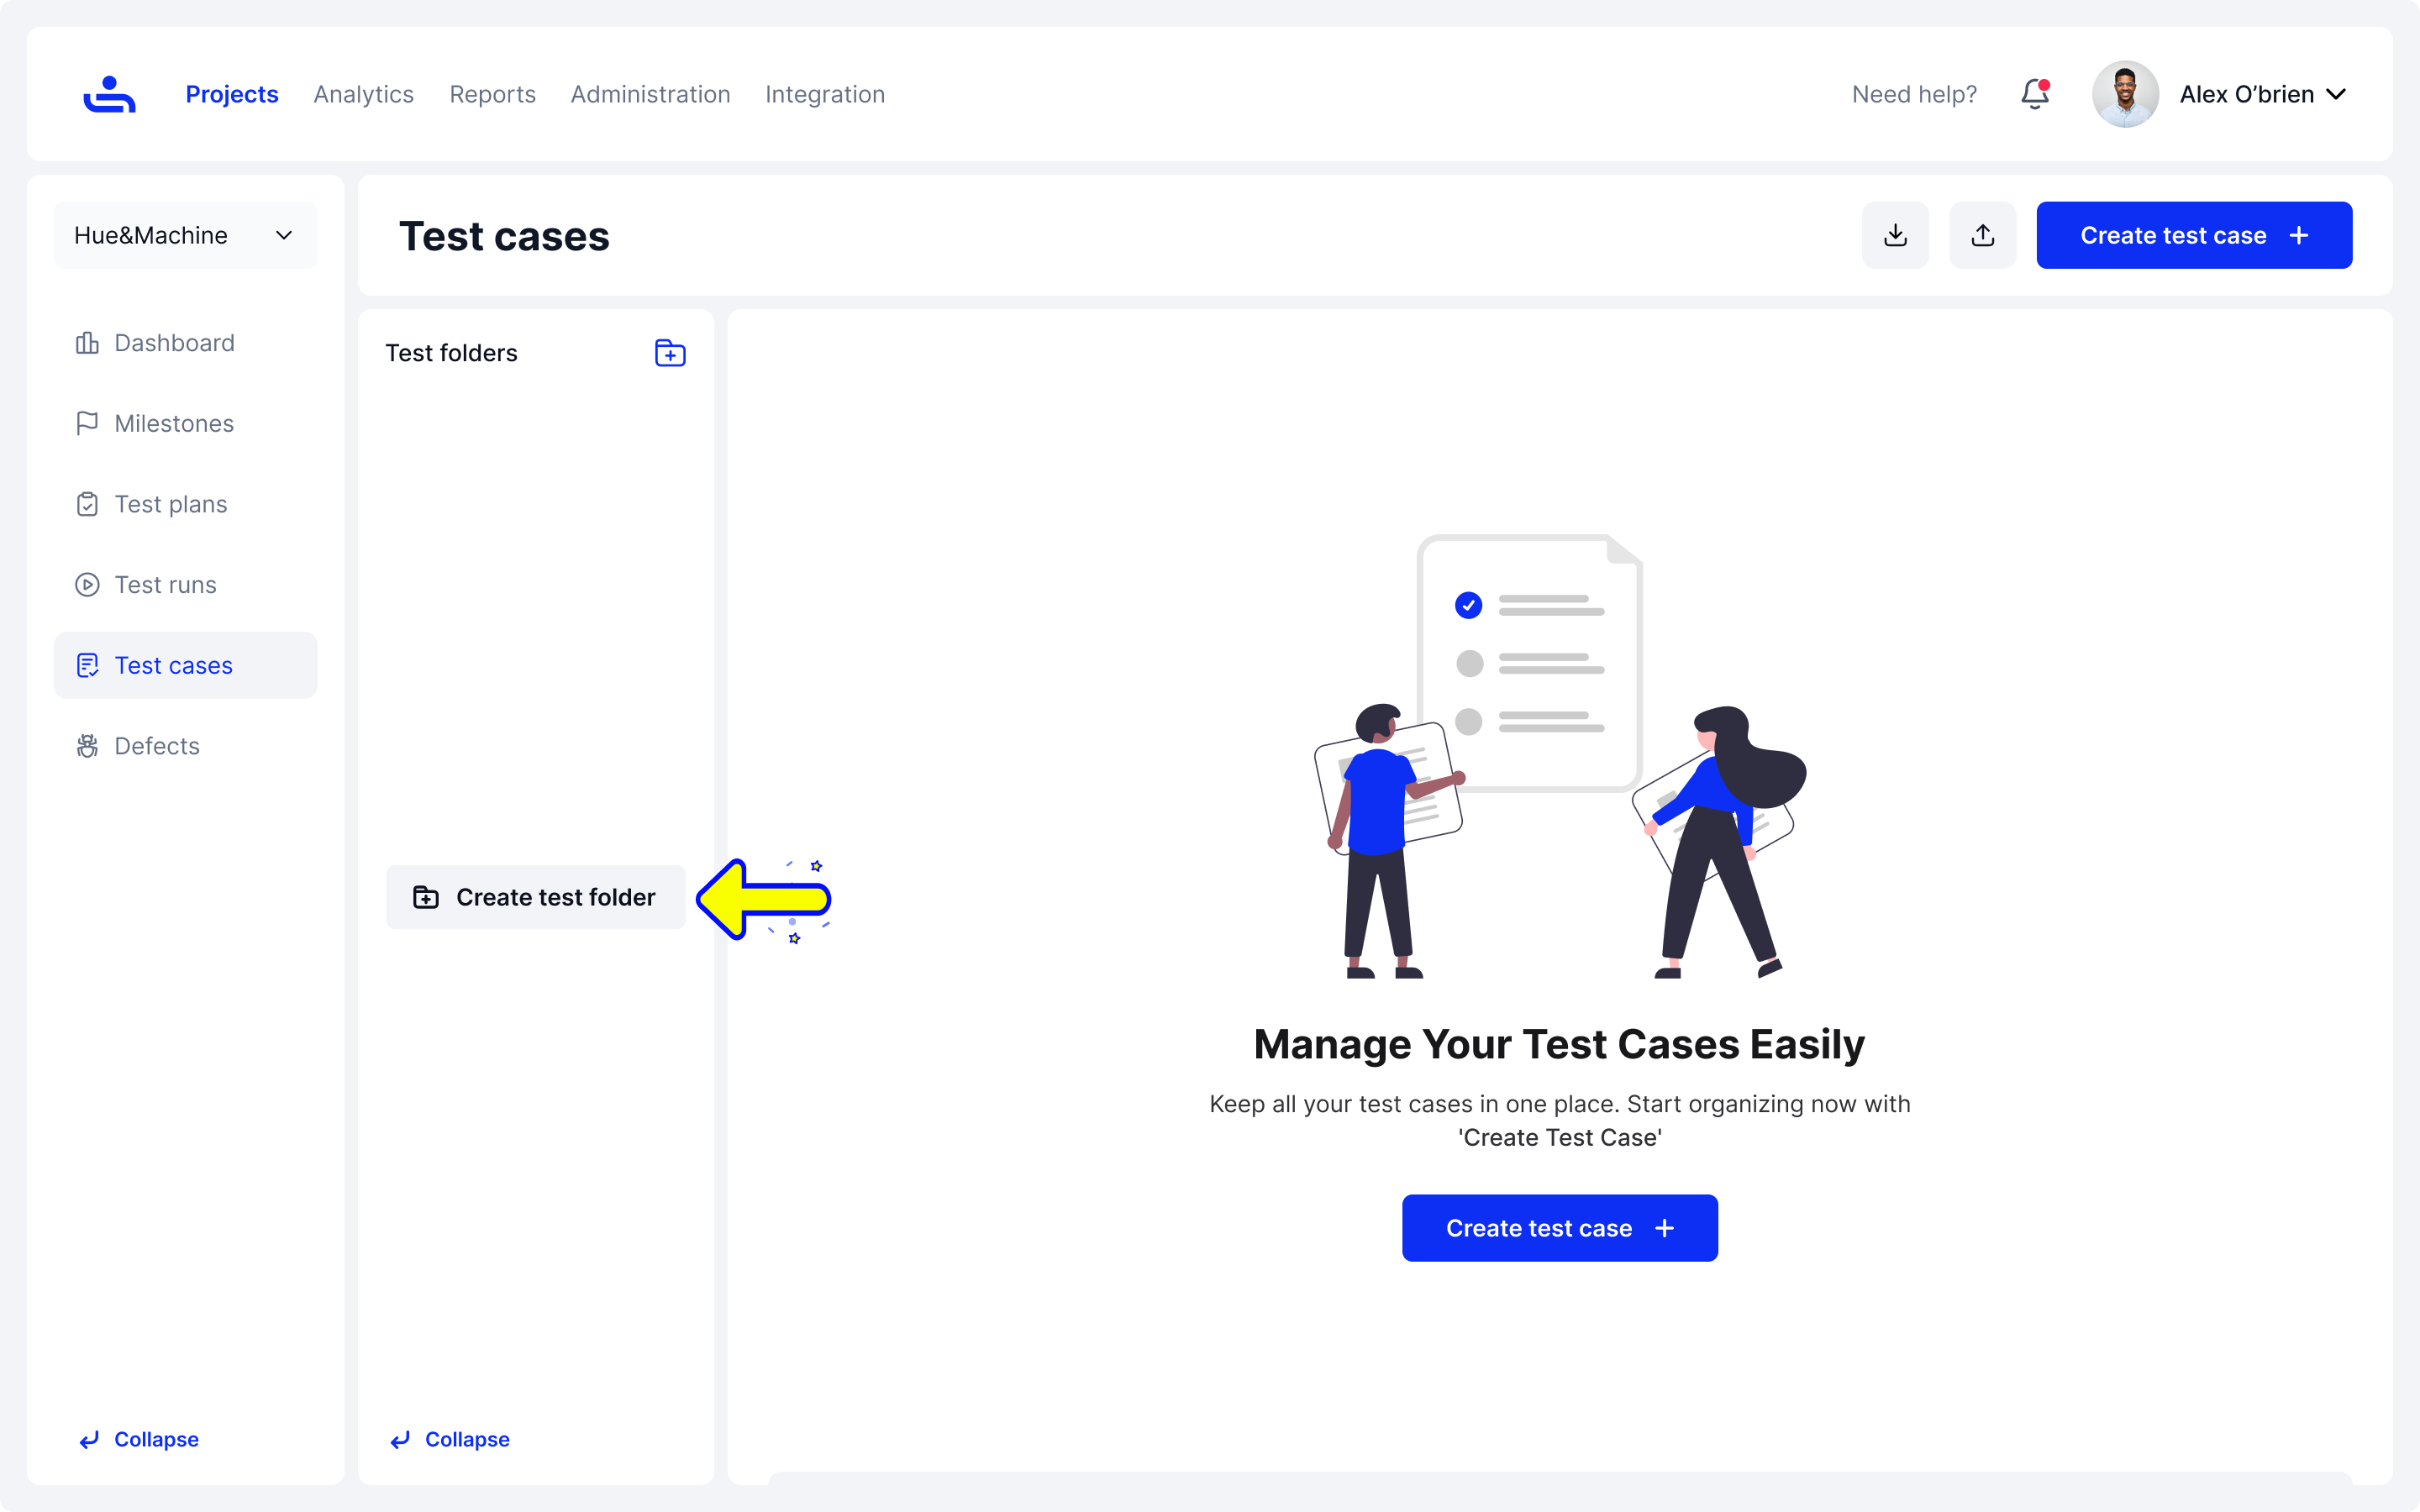
Step 2: Create Test Folder to Store Test Cases
Within your Test Cases Tab, create a Test Folder to store and organize your test cases. Test Folders allow you to group related test cases into a tree-like structure with folders and sub-folders. This makes it easier to manage and retrieve test cases as needed. Get more information by visiting the [Creating Test Folders](/projects-tab/test-cases-tab/test-folders.md) section.
Set up your initial Test Folder.
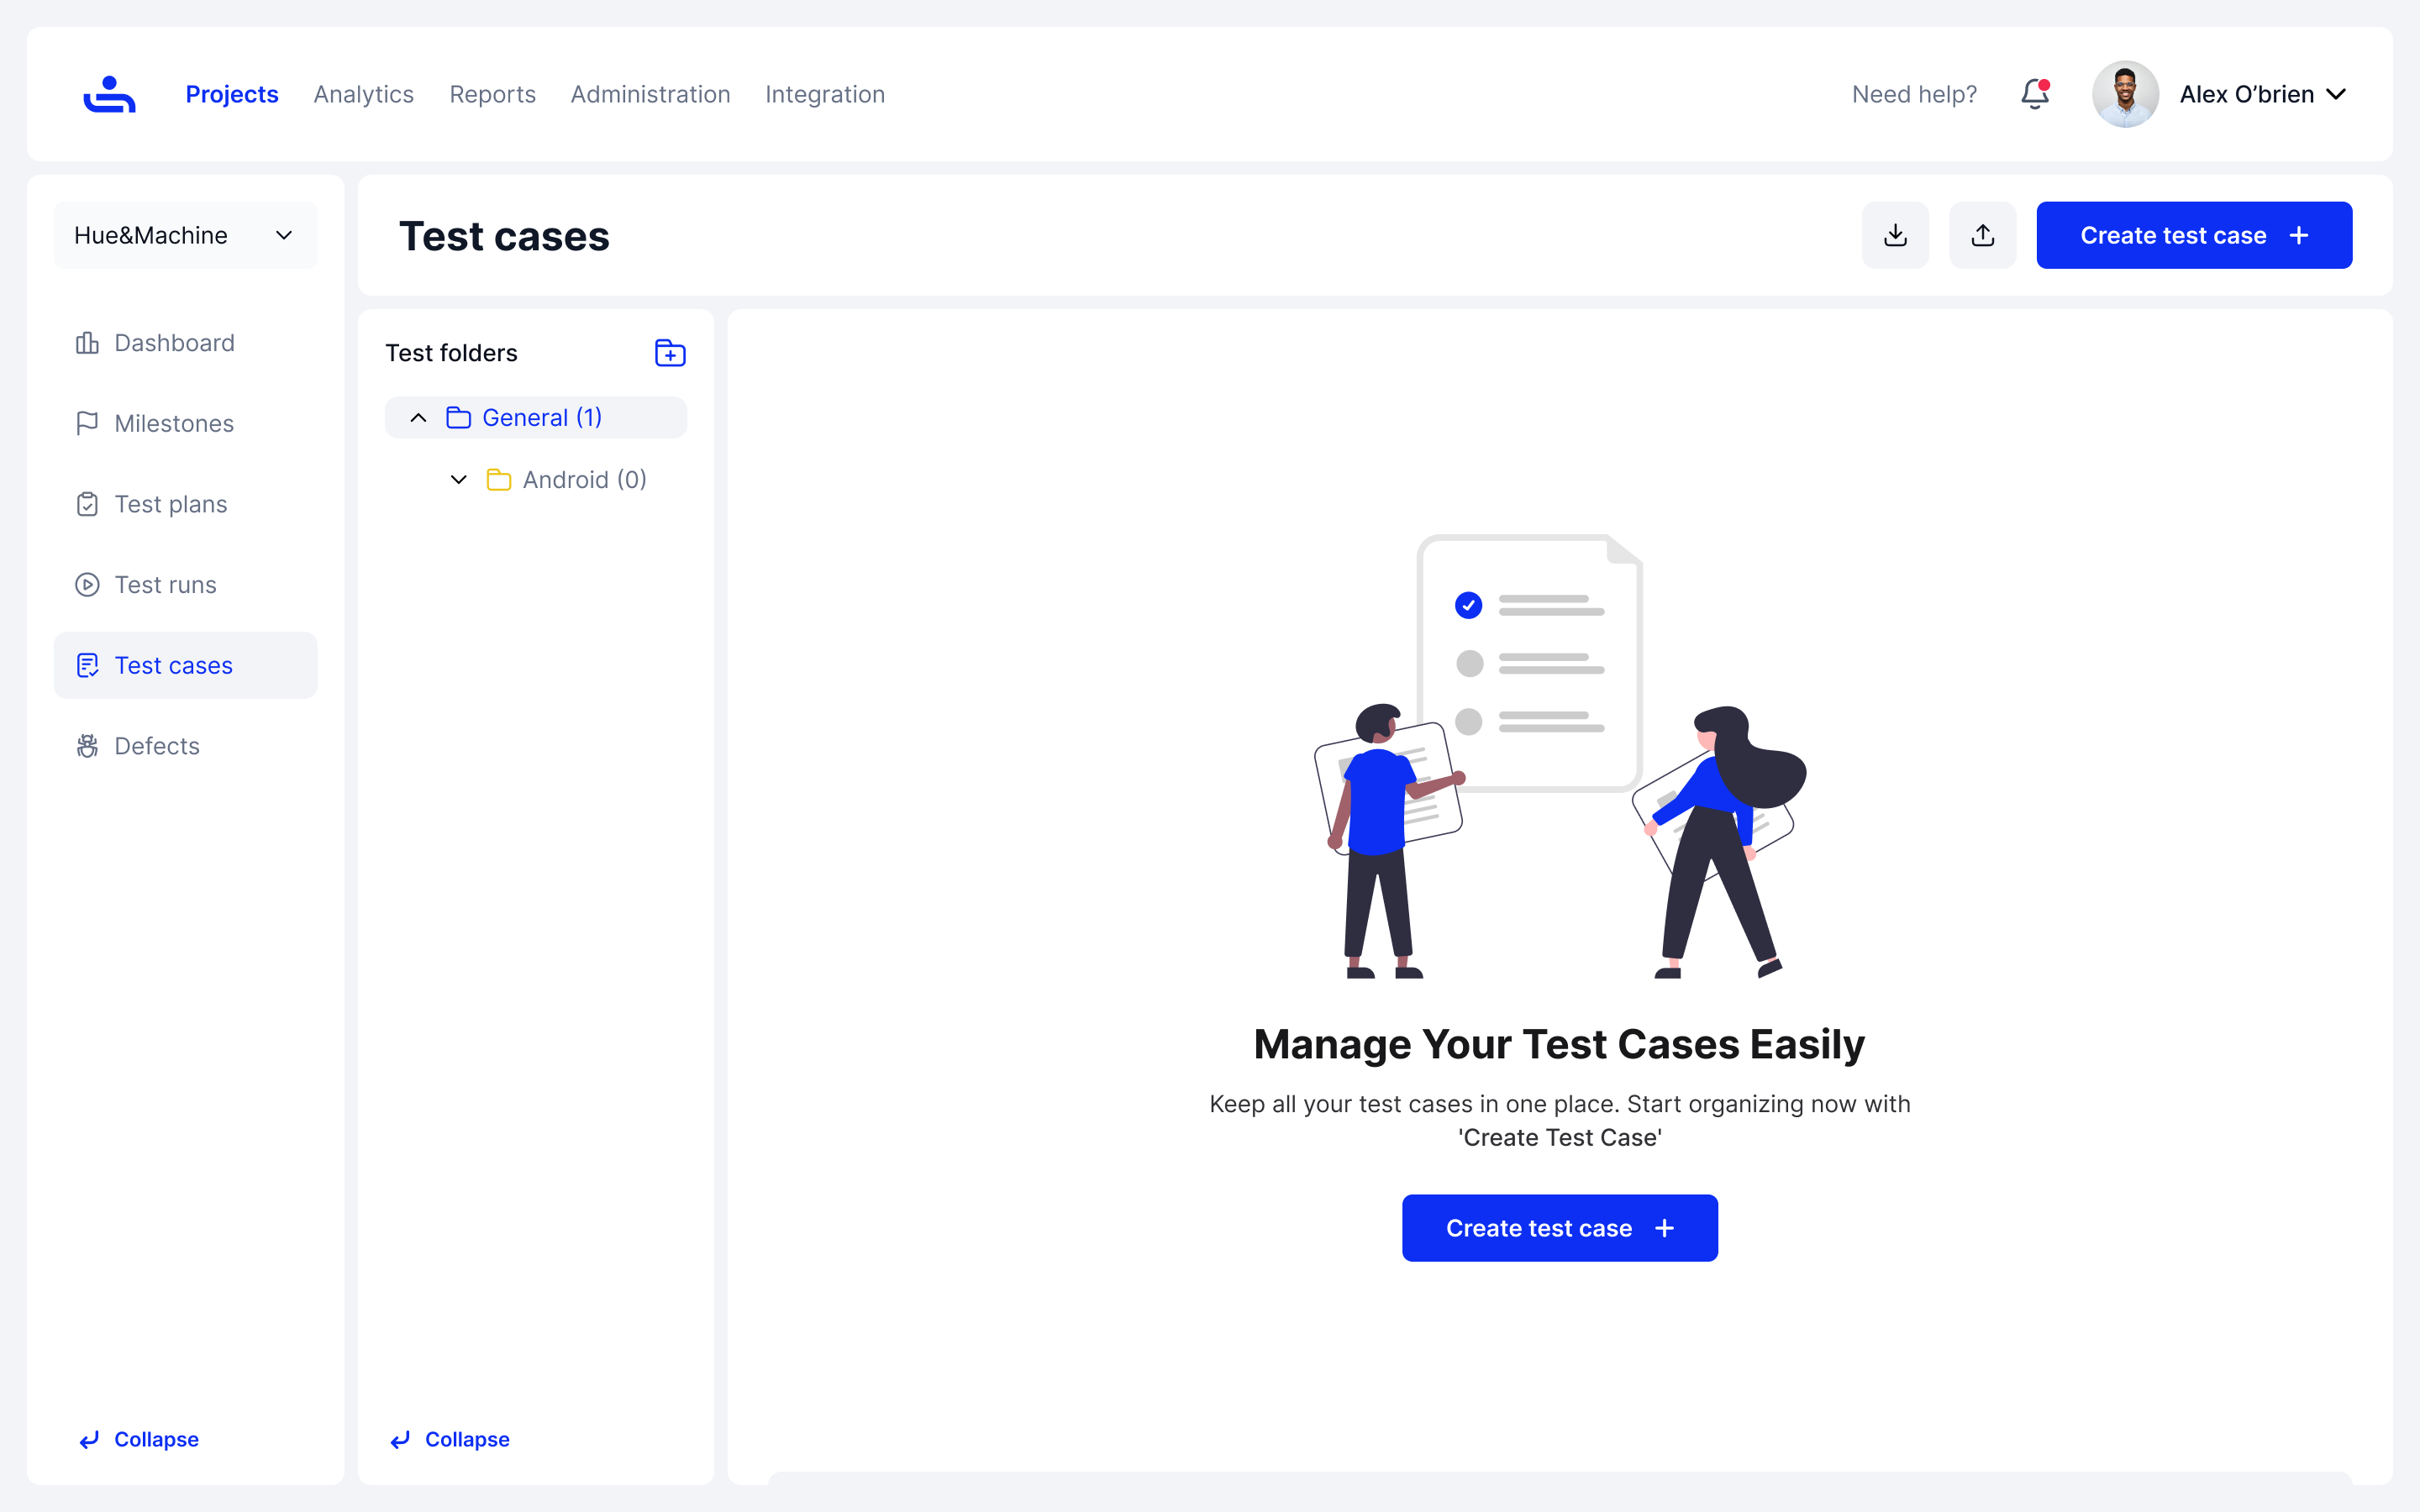
Step 3: Create a Test Case
Next, add individual Test Cases to your Test Folder. A Test Case defines a specific scenario to be tested and includes the steps to execute it, the expected outcomes, and any necessary details. Learn more by clicking on the [Creating Test Cases](/projects-tab/test-cases-tab/creating-test-cases.md) tab.
Get your first Test Case.
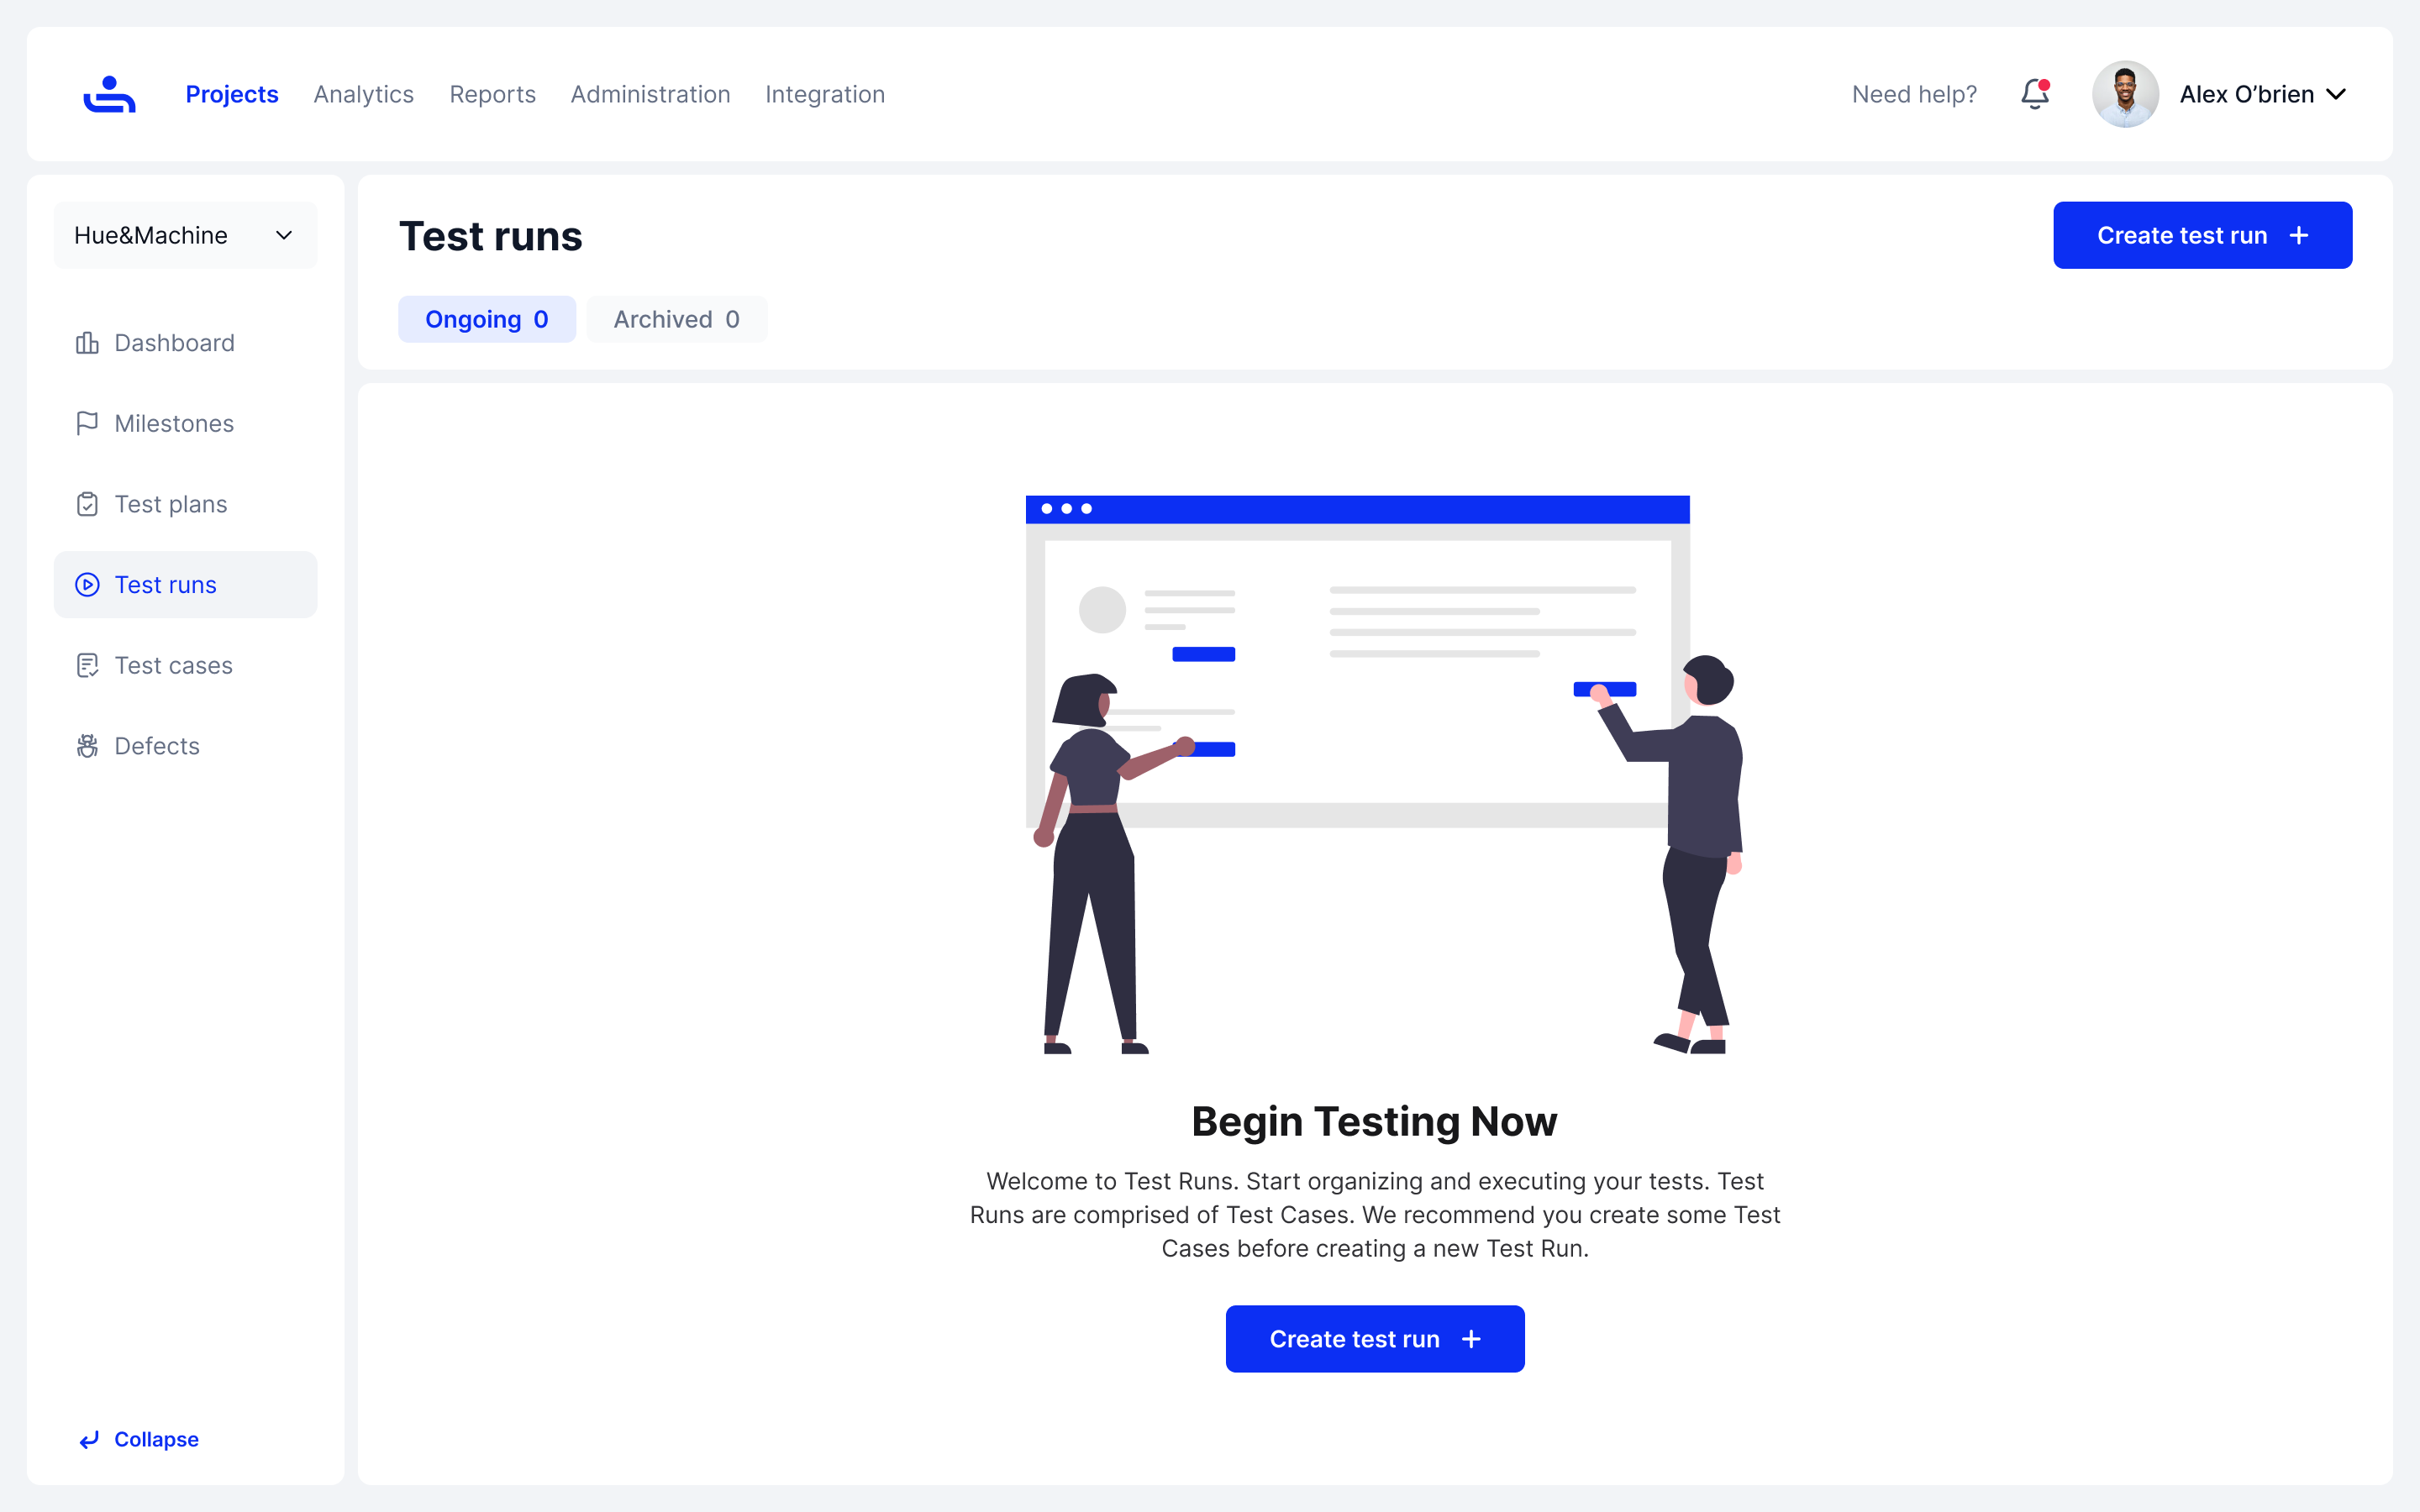
Step 4: Create a Test Run
Once your Test Cases are in place, you can create a Test Run to execute them. A Test Run is a collection of Test Cases that are executed together. To create a Test Run, go to the Test Runs section, choose to add a new run, and select the Test Cases you want to include. To explore further, navigate to the [Creating Test Runs](/projects-tab/test-runs-tab/creating-test-runs.md).
Begin with your first Test Run setup.
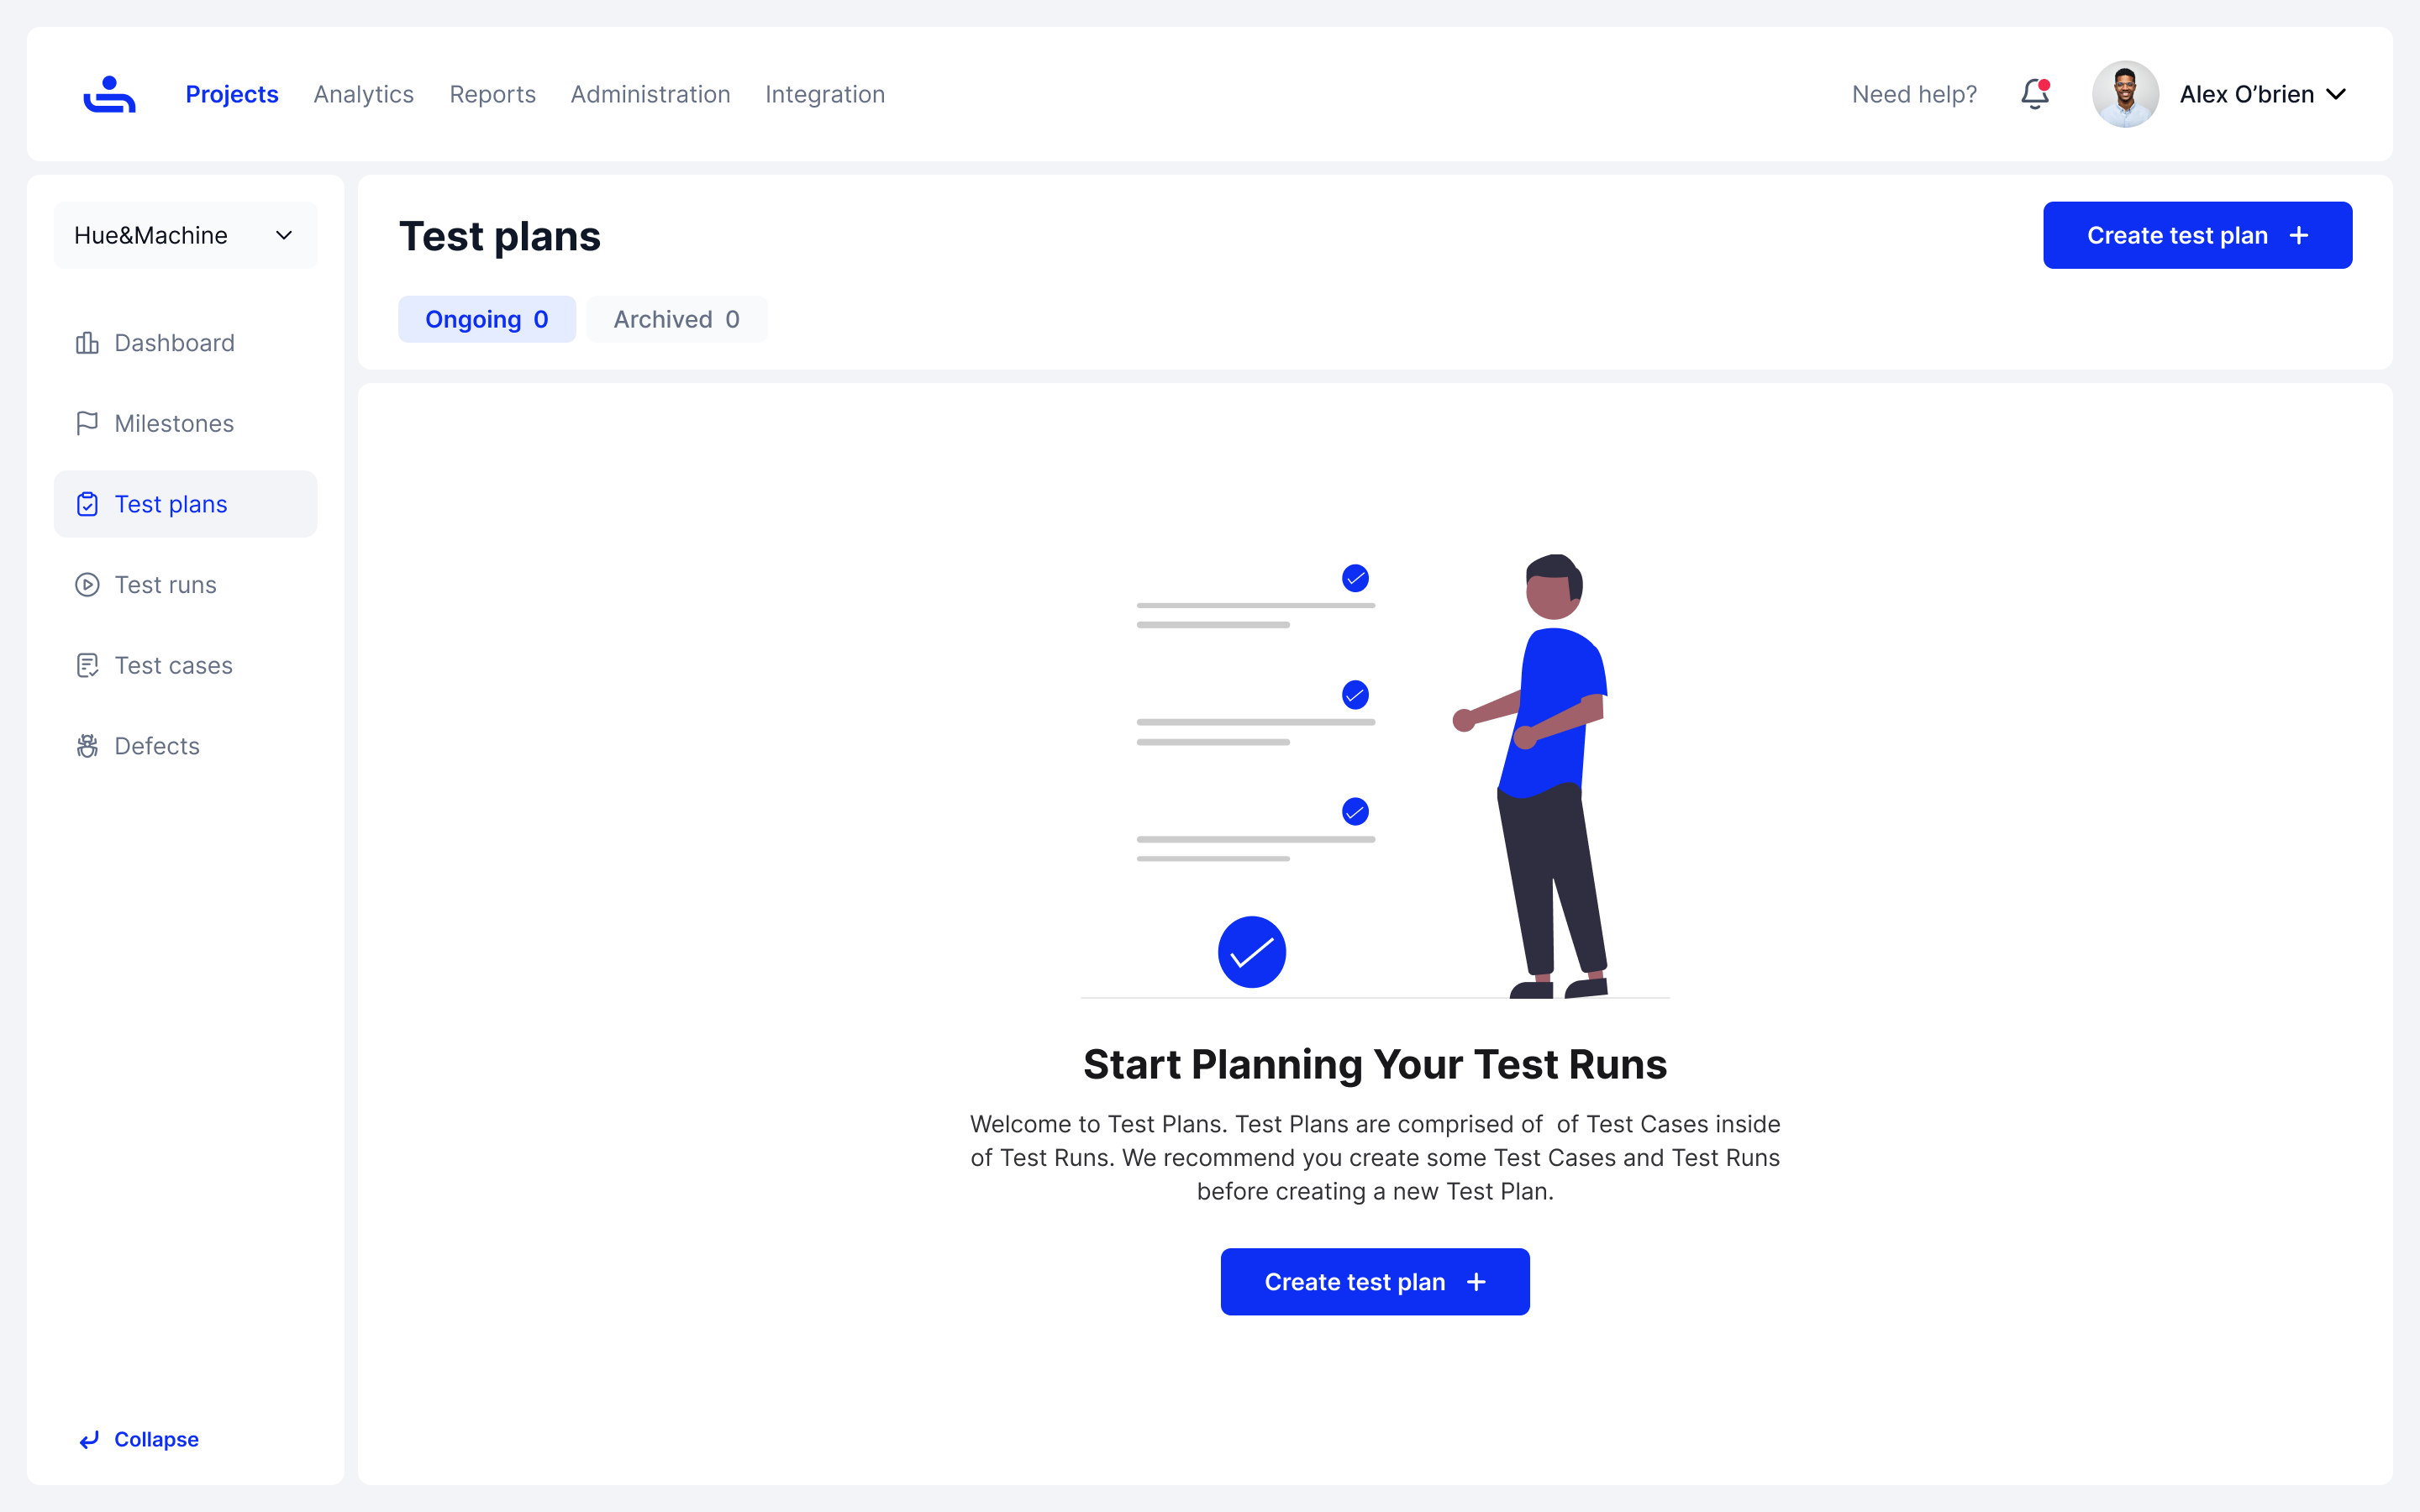
Step 5: Create a Test Plan
To coordinate and manage your Test Runs, create a Test Plan. A Test Plan includes multiple Test Runs and allows you to apply various configurations. Check the Test Plans section for more details.
Start building your first Test Plan.
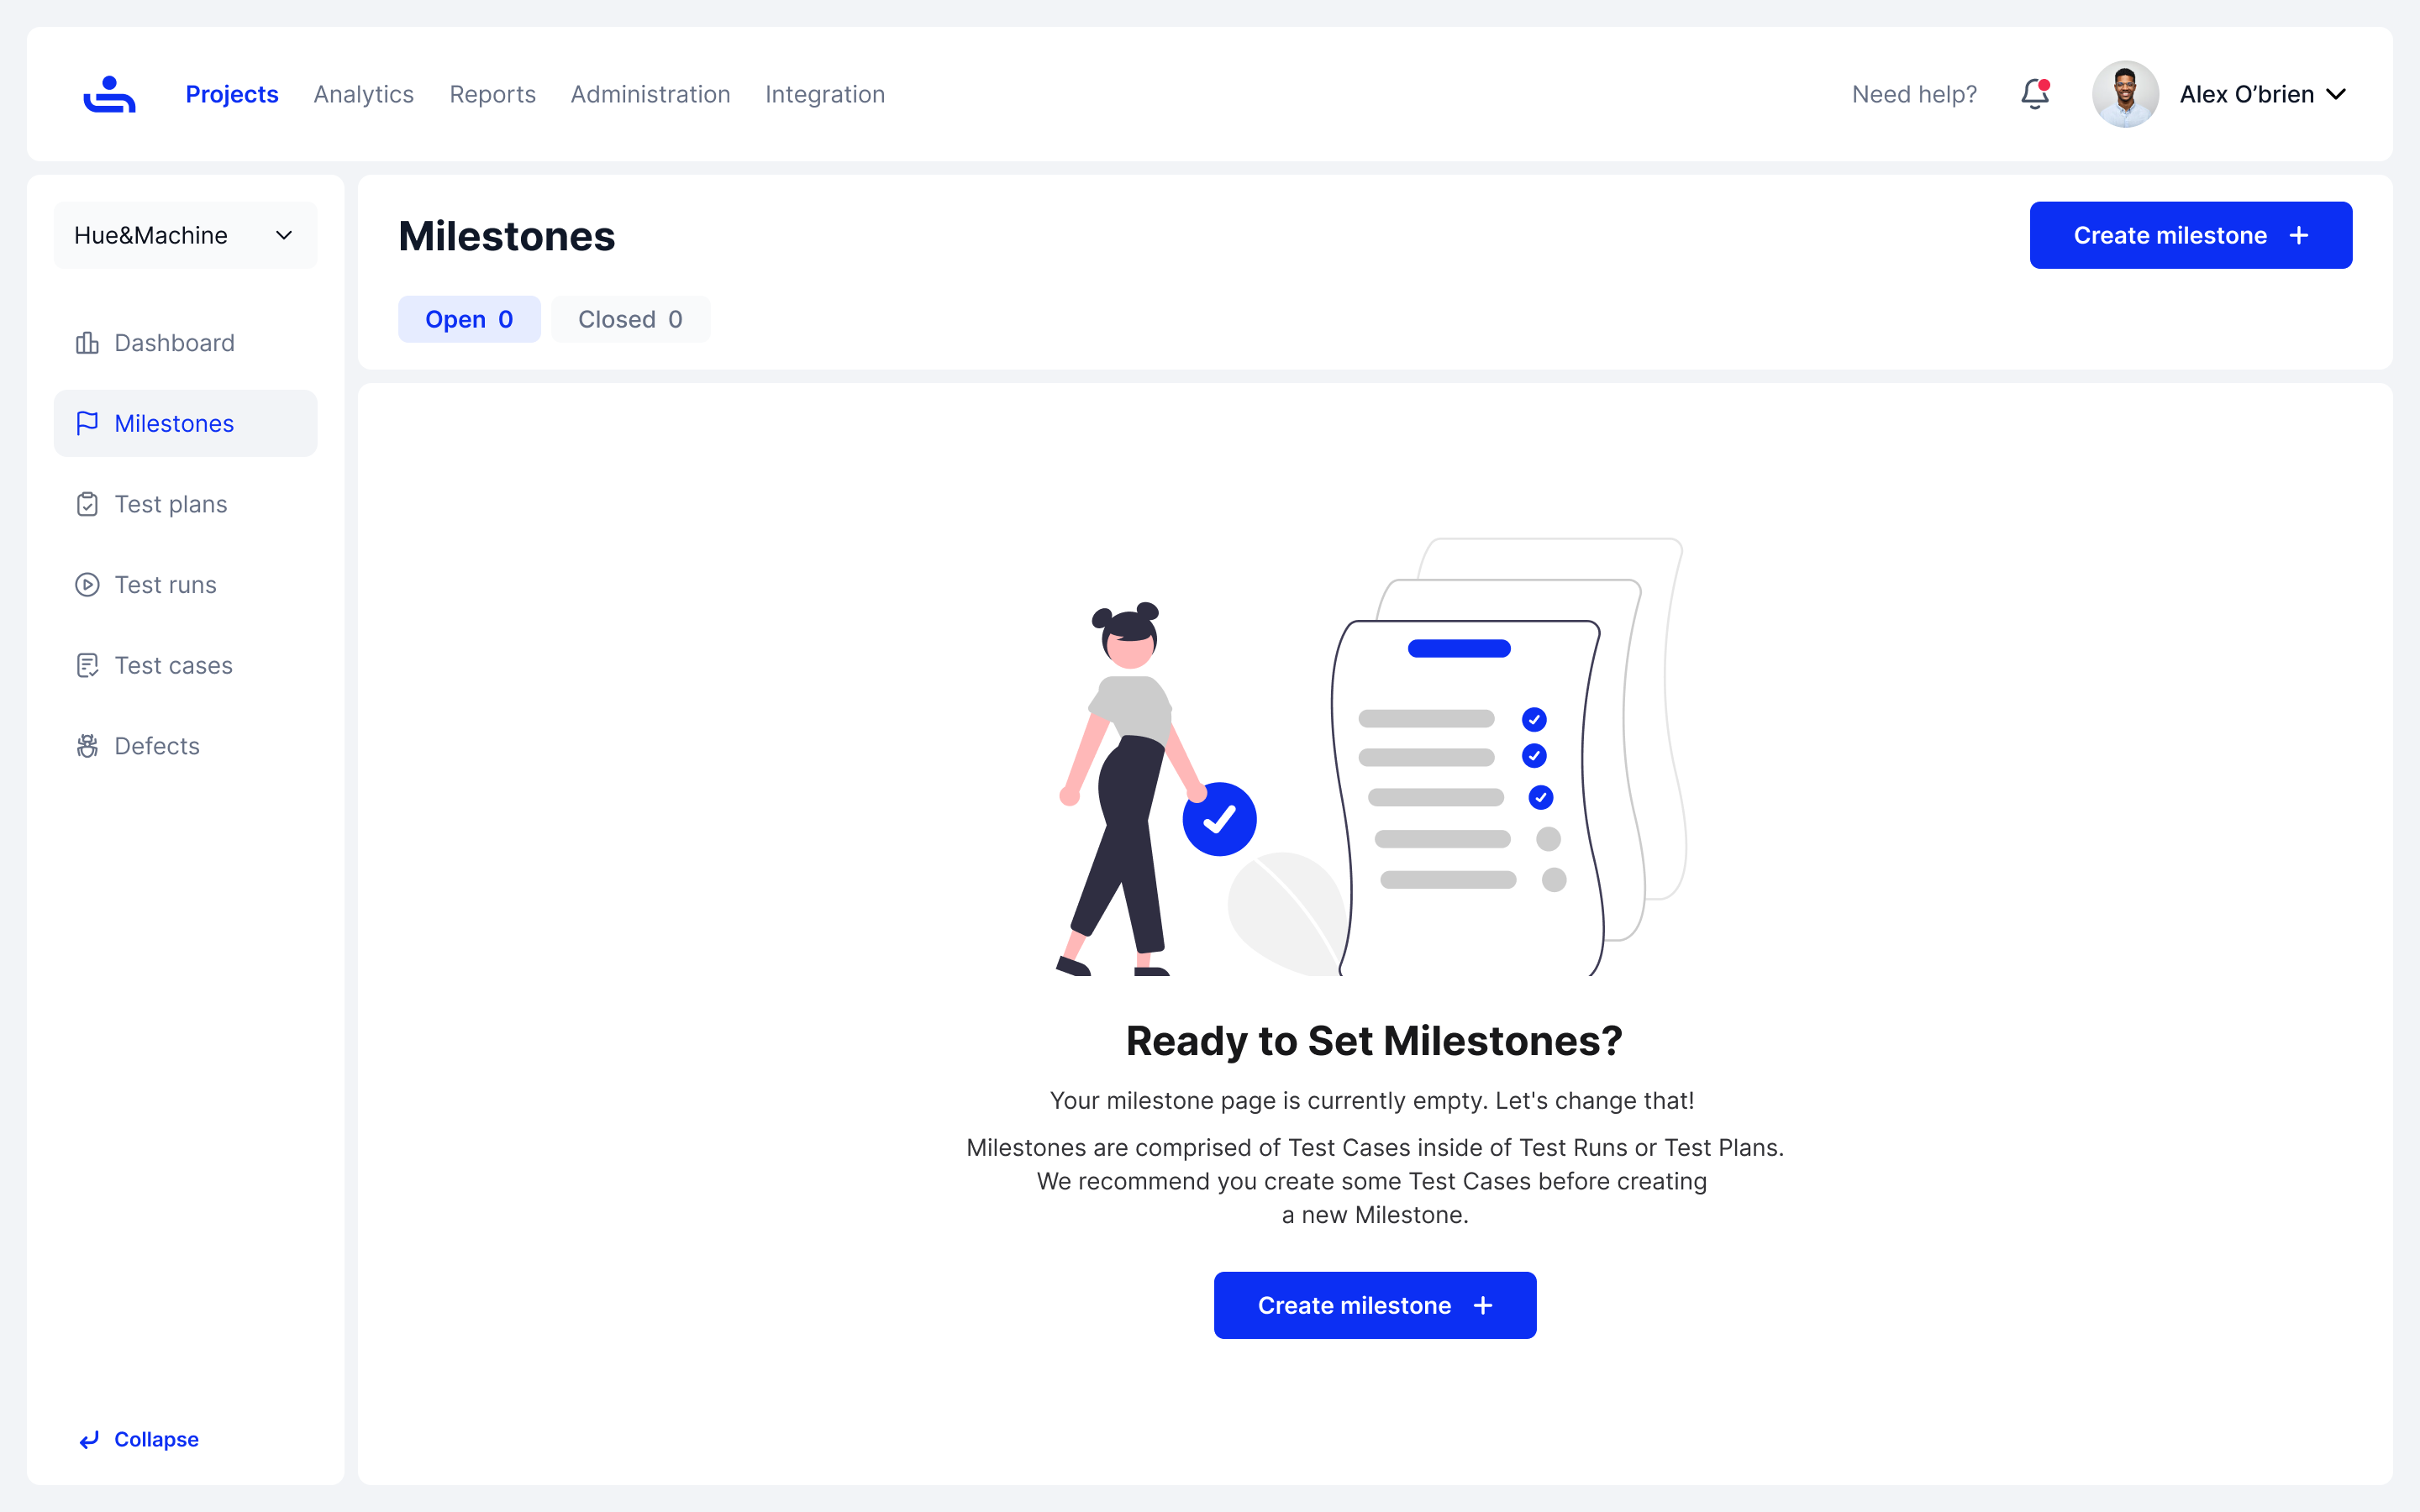
Step 6: Create a Milestone
Finally, organize your Test Plans and Test Runs into Milestones. A Milestone serves as a significant checkpoint within your Project, helping you track progress and manage testing activities. Go to the Milestones section, create a new Milestone, and add the Test Plans and Test Runs you’ve created. Visit the [Creating Milestones](/projects-tab/milestones-tab/creating-milestones.md) to learn more.
Start your Milestone journey.
Now that you’ve got a handle on organizing and managing your tests, it’s time to learn how to invite team members. Click "Next" to learn more!